A careful project starts with clarity, especially when the work happens over your head. Homeowners often wonder how to minimize surprises while keeping crews safe, and the answer is a practical approach. A trusted roofer can translate big-picture goals into daily actions, align the schedule with weather, and surface risks before they grow. Here, you’ll learn how timing shapes outcomes, giving you a clear path from first call to final inspection. We connect choices to results, show where to simplify the workflow, and offer real-world examples across homes and light commercial sites. You’ll finish with a simple roadmap, which helps your project wrap up cleanly even when the forecast is uncertain. Use these tips as a ready checklist, and you’ll feel confident from first walkthrough to final sign-off.
Define scope early and align goals for success
Start by writing a clear scope that lists roof area, layers to tear off, vent counts, and penetration details. Get full project specs at more about gitea.bettercell.synology.me for a quick start. Add photos of problem zones, like a spongy valley or aged pipe boot, so everyone sees the same issues. Agree on the required warranty length, preferred curb appeal, and attic moisture targets. Choose whether skylights stay, move, or go, and mark chimney tuckpointing as a separate line.
Documenting scope limits change orders, keeps bids comparable, and anchors your budget. As an example, a 2,000-square-foot ranch with two dormers and three soil stacks reads differently than "basic tear-off." Specificity supports tight lead times and avoids surprise material swaps. You’ll save time in procurement when the numbers are exact.
Choose materials matched to climate and structure
Match shingles, underlayment, and venting to local wind ratings and temperature swings. See current product sheets at ((roof replacement)) for verified specs. In coastal areas, pick stainless fasteners and marine-grade drip edge. For high snow, pair ice-and-water membrane with closed valleys and stout ridge caps. On low-slope sections, consider modified bitumen or a self-adhered system to stop ponding leaks.

Aesthetic choices matter too, but durability drives value. Consider algae-resistant granules near trees and cool colors over hot garages. An example: a craftsman cottage under pines does well with Class 3 impact shingles and wide gutters. Pick right, pay once, because swapping mid-project kills timelines and lifts costs.
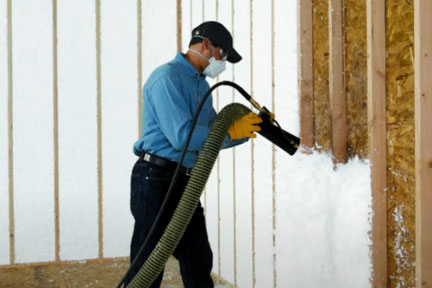
Build a efficient workflow and sequence the schedule carefully
Stage deliveries to align with tear-off zones and haul-away timing. For a three-day build, arrange day-one tear-off on the rear slope at [roofer] so traffic faces the street less. Pre-stage bundles by slope to cut ladder trips and keep paths open. Confirm crew counts for demo versus install days; they rarely match. Buffer for afternoon wind spikes that make ridge work unsafe.

Forecast-driven sequencing reduces downtime and keeps temporary waterproofing ahead of clouds. As a rule, tear off only what you can dry-in before lunch. Next, shift to detail work—valleys, flashings, vents—while sun is steady. A one-page timeline with tasks, crew size, and weather notes keeps everyone aligned.
Guard quality from start and reduce on-site risk
Set inspection points: decking repair, underlayment adhesion, valley metal, step flashing, and ridge vent attachment. Capture photos to a shared folder at [roof replacement] so progress stays visible. Use fall protection, toe boards, and posted ground zones to separate staff from debris. Contain nails with rolling magnets and tarps along landscaping. Ask for manufacturer install guides on site for quick checks.
Craft isn’t just neat lines; it’s controlled moisture flow and stable penetrations. For example a tight counterflashing on a brick chimney prevents capillary leaks that mimic ceiling HVAC sweat. Probe suspicious deck areas with a hammer and replace soft spots before underlayment hides them. Small fixes early prevent messy tear-backs on day three.
Balance budget with trade-offs and lock realistic contingencies
Price the project by components: tear-off, deck repair allowance, membrane, shingles, vents, flashing, and ridge finish. Compare line items with a 10–15% contingency at [roofer] to absorb hidden rot. When budgets pinch, keep critical membranes and ventilation, and swap cosmetic upgrades later. Group gutter work to save on mobilization and staging costs. Ask whether disposal fees change for multiple layers.
Upfront transparency reduces tense mid-job decisions. Consider this: skipping ice membrane on eaves to afford a designer color may backfire in a freeze-thaw winter. Smarter to keep weatherproof layers and scale back ornamental caps. Clear math builds trust and keeps payments routed to what lasts.
Conclusion
A focused plan shapes scope, materials, workflow, quality, and budget into a single path. If choices sync with climate and timeline, crews move faster and risks stay small. Use the checklists here to run work in clean phases, document progress, and cushion surprises. With that discipline, your roof replacement finishes on time and performs for years.